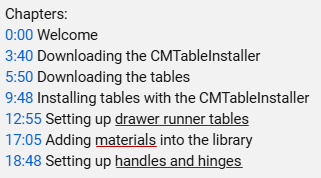
 Watch the Webinar which discuss the step by step instructions documented here.
 Create & Setup a Runner Set
In CabMaster, go to the Hardware > Managers page in the Drawing Properties [F4].
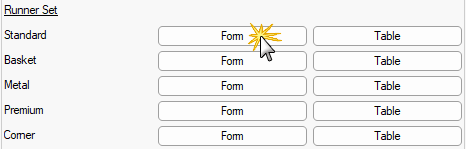
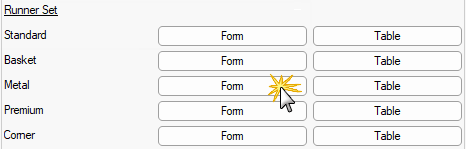
Under Runner Set there are five (5) different types - knowing the type is critical for setting up the runner.
These are the ones you need to know:-
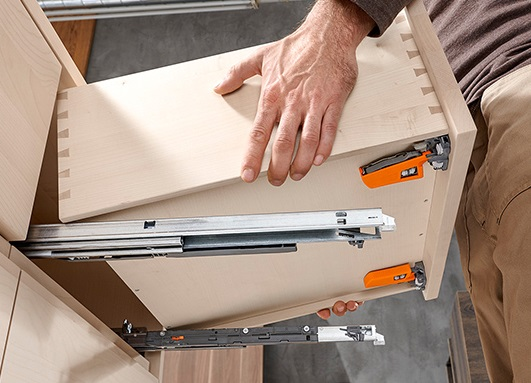
- Standard = Box drawers with ball bearing runners or under-mount runners - see setup instructions below.
Example of Standard drawer runner
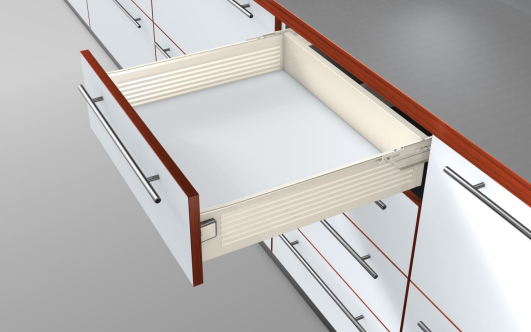
- Metal = Single walled, metal-sided drawers - see setup instructions below.
Example of Metal drawer runner
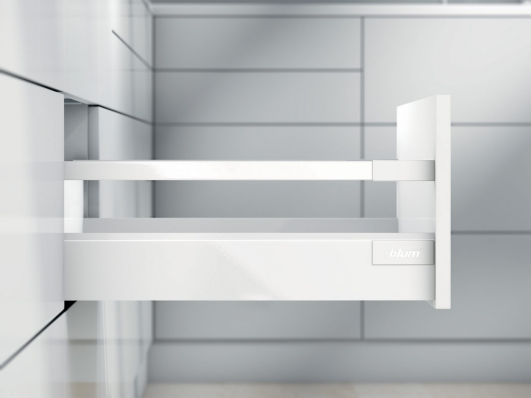
- Premium = Double walled, metal sided drawers - see setup instructions below.
Example of Premium drawer runner
Standard / Box Drawers
Click here to view instructions to setup Box Drawers
Step 1 On the Hardware > Managers page in the Drawing Properties [F4]...
- Click the Standard Form button, as shown.
Hardware > Managers page - Click to Expand
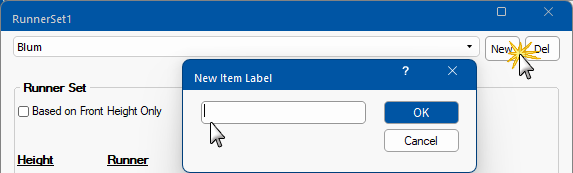
- In the pop up window, click New - see also Create a New Runner Set for step by step instructions.
- Create a 'New Item Label' name for the new Runner Set. Click OK.
- Suggest that you name it as per StoreMaster (click on image) but you can name it whatever you like.
Click to view StoreMaster web page with Runner Set details
- Click OK to also close the RunnerSet window.
- The Runner Set is now saved but has nothing in it.
Step 2 Now go to the Hardware > Drawers page in the Drawing Properties [F4]...
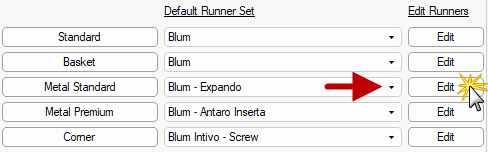
- Next to the Standard button, select your newly created runner set from the drop list;
- Click Edit.

- You will now be presented with the Standard Runners Properties window.
- Again, click the Edit button - click on image below.
- This will open a similar looking window, called the Runner Set Properties but allows you to edit and save the runner set.
Make sure that you match the StoreMaster settings.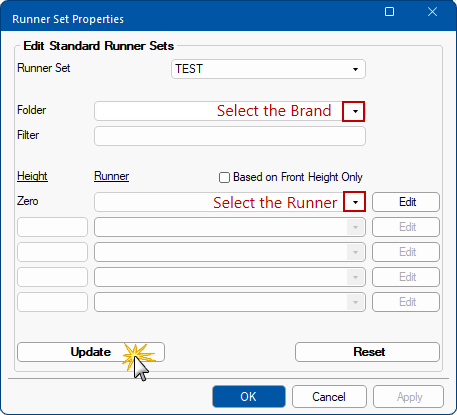
Click to view all 3 windows discussed above
- Click Save and then OK, to close Runner Set Properties window.
- Click OK to close the other windows.
Your Standard Runner Setup is now complete.
Metal/Single-Wall Drawers
Click here to view instructions to setup Singe-Wall Metal Drawers
Step 1 On the Hardware > Managers page in the Drawing Properties [F4]...
- Click the Metal Form button, as shown.
Hardware Managers page - Click to Expand
- In the pop up window, click New - see also Create a New Runner Set for step by step instructions.
- Create a 'New Item Label' name for the new Runner Set. Click OK.
- Suggest that you name it as per StoreMaster (click on image) but you can name it whatever you like.
Click to view StoreMaster web page with Runner Set details
- Click OK to also close the RunnerSet window.
- The Runner Set is now saved but has nothing in it.
Step 2 Now go to the Hardware > Drawers page in the Drawing Properties [F4]...
- Next to the Metal Standard button, select your newly created runner set from the drop list;
- Click Edit.
- You will now be presented with the Metal Standard Runners Properties window.
- Again, click the Edit button - click on image below.
- This will open a similar looking window, called the Runner Set Properties but allows you to edit and save the runner set.
Make sure that you match the StoreMaster settings.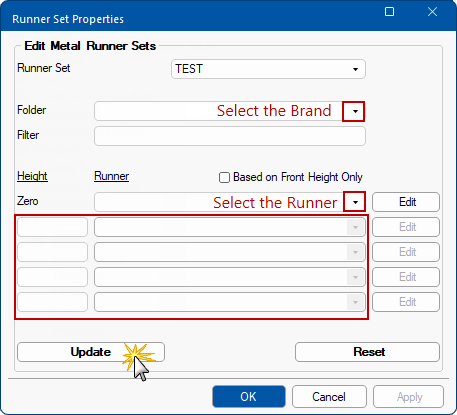
Click to view all 3 windows discussed above
- Click Save and then OK, to close Runner Set Properties window.
- Click OK to close the other windows.
Your Metal Standard Runner Setup is now complete.
Premium/Double-Wall Metal Drawers
Click here for instructions to setup Double Wall Metal Drawers
Step 1 On the Hardware > Managers page in the Drawing Properties [F4]...
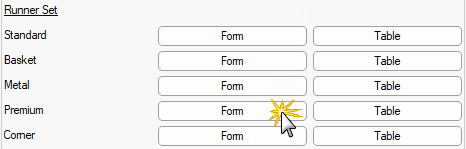
- Click the Premium Form button, as shown.
Hardware > Managers page - Click to Expand
- In the pop up window, click New - see also Create a New Runner Set for step by step instructions.
- Create a 'New Item Label' name for the new Runner Set. Click OK.
- Suggest that you name it as per StoreMaster (click on image) but you can name it whatever you like.
Click to view StoreMaster web page with Runner Set details
- Click OK to also close the RunnerSet window.
- The Runner Set is now saved but has nothing in it.
Step 2 Now go to the Hardware > Drawers page in the Drawing Properties [F4]...
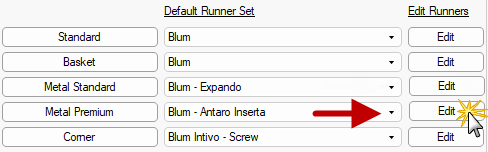
- Next to the Metal Premium button, select your newly created runner set from the drop list;
- Click Edit.
- You will now be presented with the Metal Premium Runners Properties window.
- Again, click the Edit button - click on image below.
- This will open a similar looking window, called the Runner Set Properties but allows you to edit and save the runner set.
Make sure that you match the StoreMaster settings.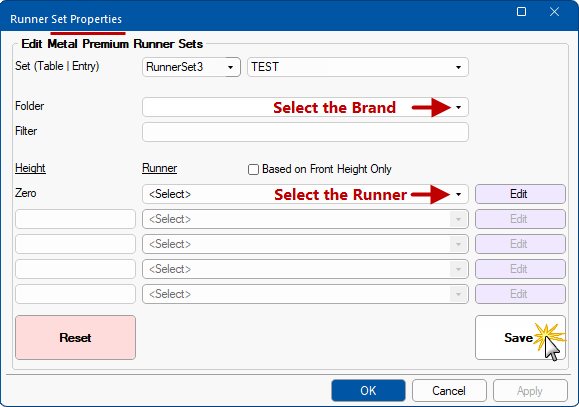
Click to view all 3 windows discussed above
- Click Update and then OK, to close Runner Set Properties window.
- Click OK to close the other windows.
Your Metal Premium Runner Setup is now complete.